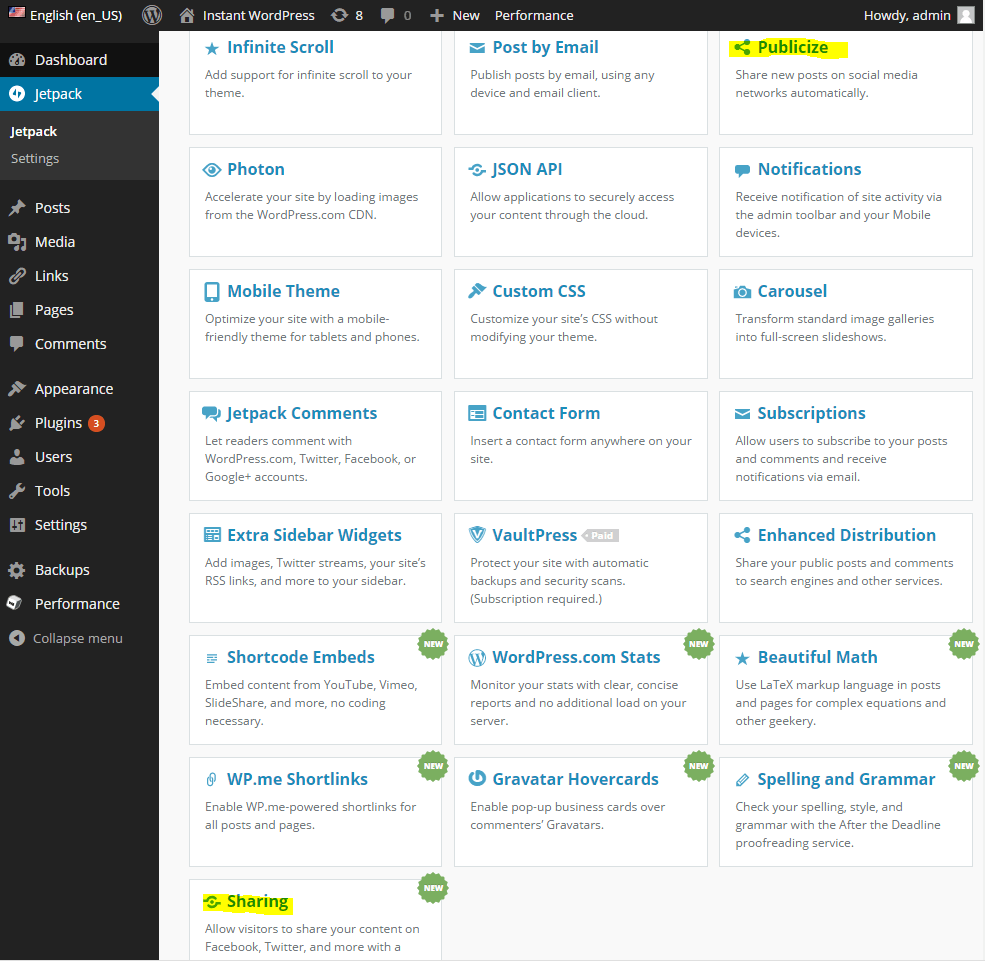
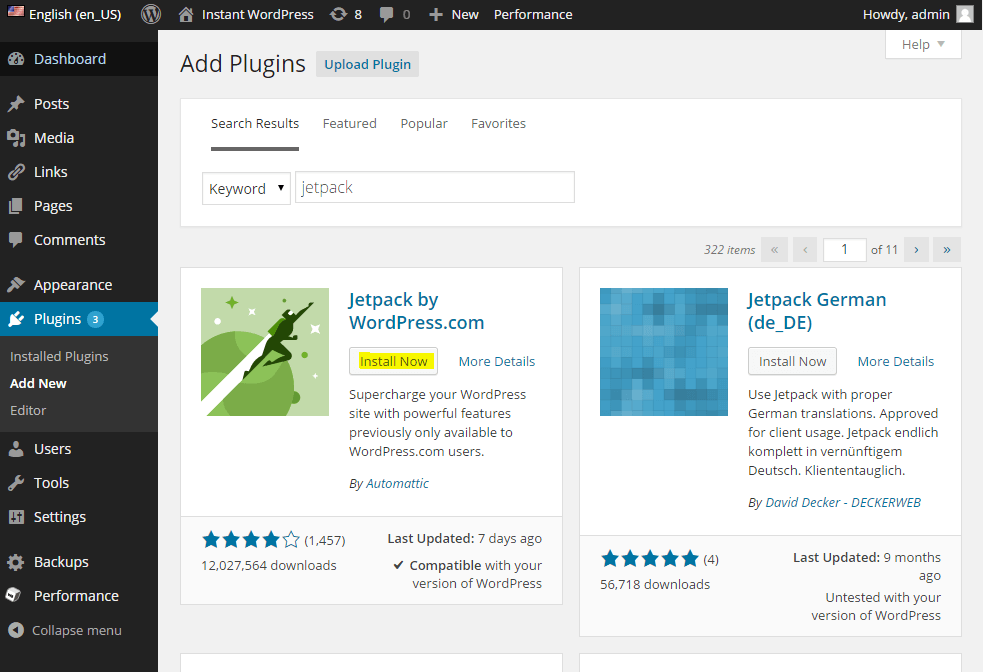
Before beginning this tutorial you will need to install and activate the free Jetpack plugin. Read this post for instructions on how to install Jetpack.
Jetpack includes a subscriptions module which allows your readers to easily subscribe to your blog in order to receive updates by email on the latest comments and posts. This powerful feature helps to encourage more of your visitors to become regular readers, and it is one of the most effective solutions for setting up email subscriptions for a typical blog. Instead of using your own hosting package to handle the potentially large volume of emails you’ll be sending out, Jetpack uses the servers at WordPress.com, and best of all, it doesn’t cost anything either. The Subscriptions service should be activated by default once you have set up Jetpack, but you can turn it on and off from the Jetpack > Settings page as with any other module belonging to the plugin.
By default, email subscriptions will already be already be turned on, and your visitors will see checkboxes when they leave a comment on one of your posts or pages. When a reader leaves a comment, they will be able to choose up to two options including email notifications when someone posts a follow-up comment or when you publish a new post. Additionally, you can place the Blog Subscriptions widget in any desired widget area or add the option to subscribe anywhere else on your website by using a small piece of code.
Using the Jetpack Subscriptions Widget
By far the quickest and easiest way to set up email subscriptions is to use the widget, which will be available as long as the Subscriptions module is activated (which it should be by default).
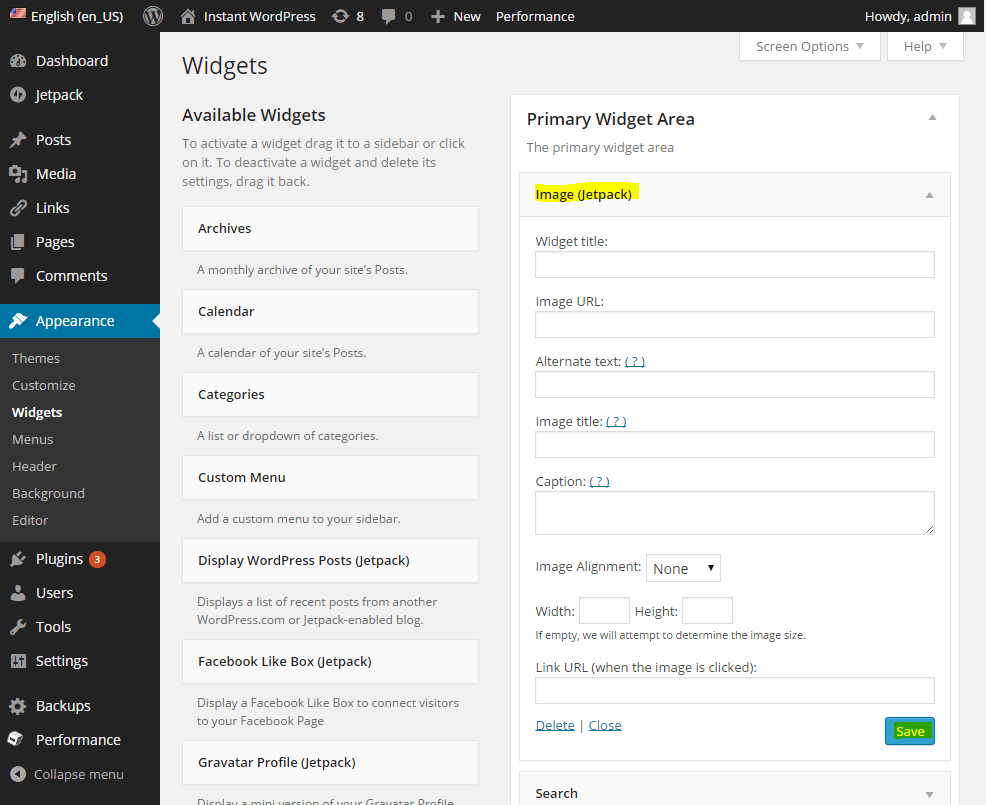
- In your administrator dashboard, navigate to Appearance > Widgets and look for the “Blog Subscriptions (Jetpack)” widget in the left-side column.
- Drag the widget to the preferred widget area, such as the Primary Widget Area which is the main sidebar on your site. It will be activated immediately.
- Configure the activated widget by clicking on its name in the right-side column to display the available settings.
- Enter your own widget title, optional text to display to your readers and the text for the subscribe button if you don’t want to use the default options.
- Check the box beside “Show total number of subscribers” if you want your readers to see how many people are currently subscribing to your blog.
- Click on “Save” to save your changes, and they will appear on your site immediately.

Using the Jetpack Subscriptions Shortcode
By pasting the shortcode for the Jetpack Subscriptions module in the HTML for your website, you can place a subscription form anywhere on your website, without having to be restricted by the widget areas which are available with your currently active theme. The required code is as follows:
[jetpack_subscription_form]
By adding some additional modifiers, you can also customize the subscription form to the same extent that you can customize the widget. The available modifiers are as follows, and they need to be added within the shortcode brackets as illustrated below:
- To change the title, use the following syntax:
[jetpack_subscription_form title="Your title"] - To change the subscription text, use the following:
[jetpack_subscription_form subscribe_text="Your subscribe text"] - To change the text on the subscribe button, use the following modifier:
[jetpack_subscription_form subscribe_button="Sign Up"] - To display the number of current subscribers, use the following code:
[jetpack_subscription_form show_subscribers_total="1"]
Simply replace the bolded text with that of your choice. You can use multiple modifiers (including all four if you wish) simply by placing each one within the brackets, leaving a space between each one.
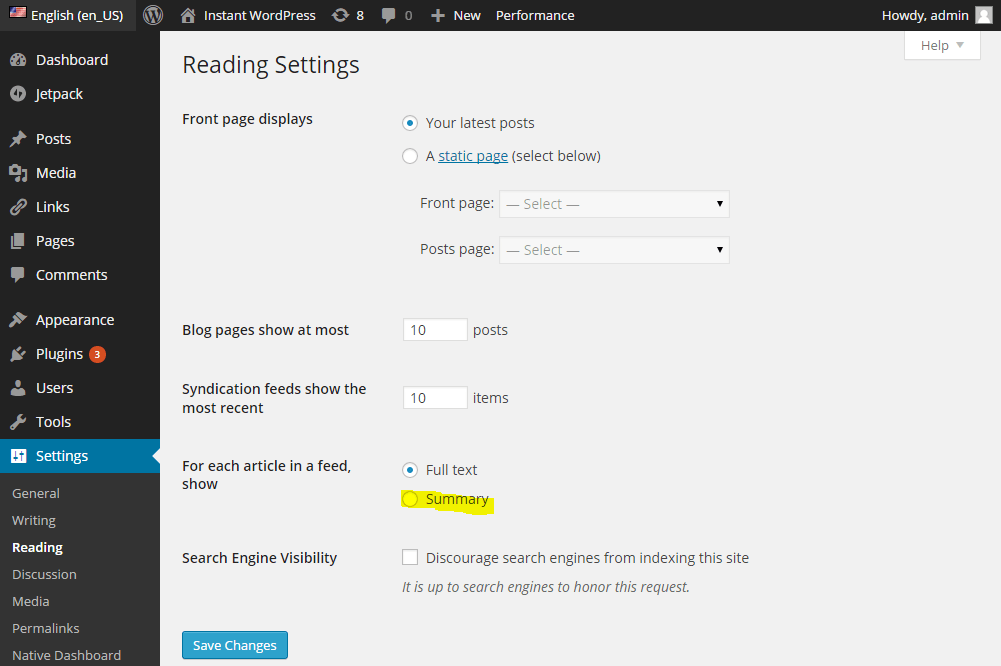
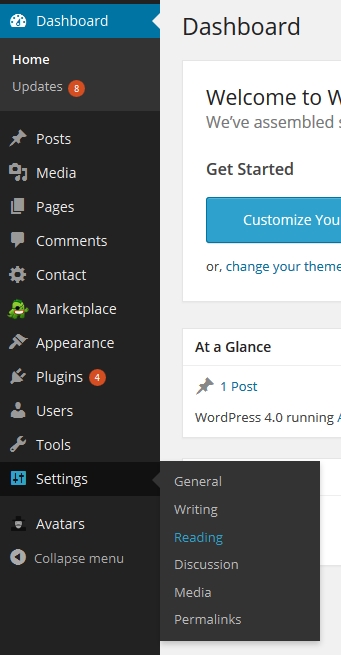
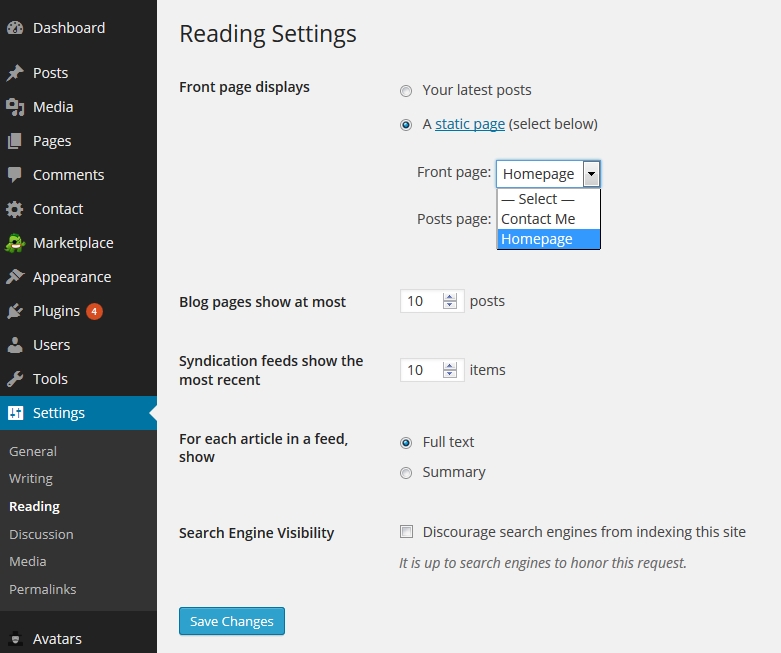
Now that you have set up email subscriptions for your blog, anyone can subscribe simply by entering his or her email address. Once they subscribe, the reader will receive a confirmation email whereby he or she will need to click “Confirm Follow” to start receiving updates from you. Finally, you can also customize the content of the emails to a degree by navigating to Settings > Reading in your administrator dashboard and changing the feed settings to “Summary” so that only post summaries are shown in the emails.