Please note: This tutorial is for WordPress.org blogs. If you are still using a WordPress.com blog the process may be different. To unleash the full power of WordPress you may want to consider migrating from WordPress.com to WordPress.org.
The header is undoubtedly the most important visual element in almost any WordPress blog. It’s usually the very first thing that your visitors see, so it is essential to choose and customize your header image wisely. The header image helps to define the entire look and feel as well as the theme of your blog, or in the case of a business website, it helps to define your brand image. You should keep your header image and style consistent with any social media profiles or other online resources connected to your website so that your visitors will more easily come to recognize your online presence.
By default, the header image is displayed at the top of every page and post on your site, and it is often accompanied by a website title and a series of menu options just beneath it. Many WordPress themes come with their own default header images, but you will always be better off using your own image, preferably one which is specifically tailored to your content and the style that you want to go for.
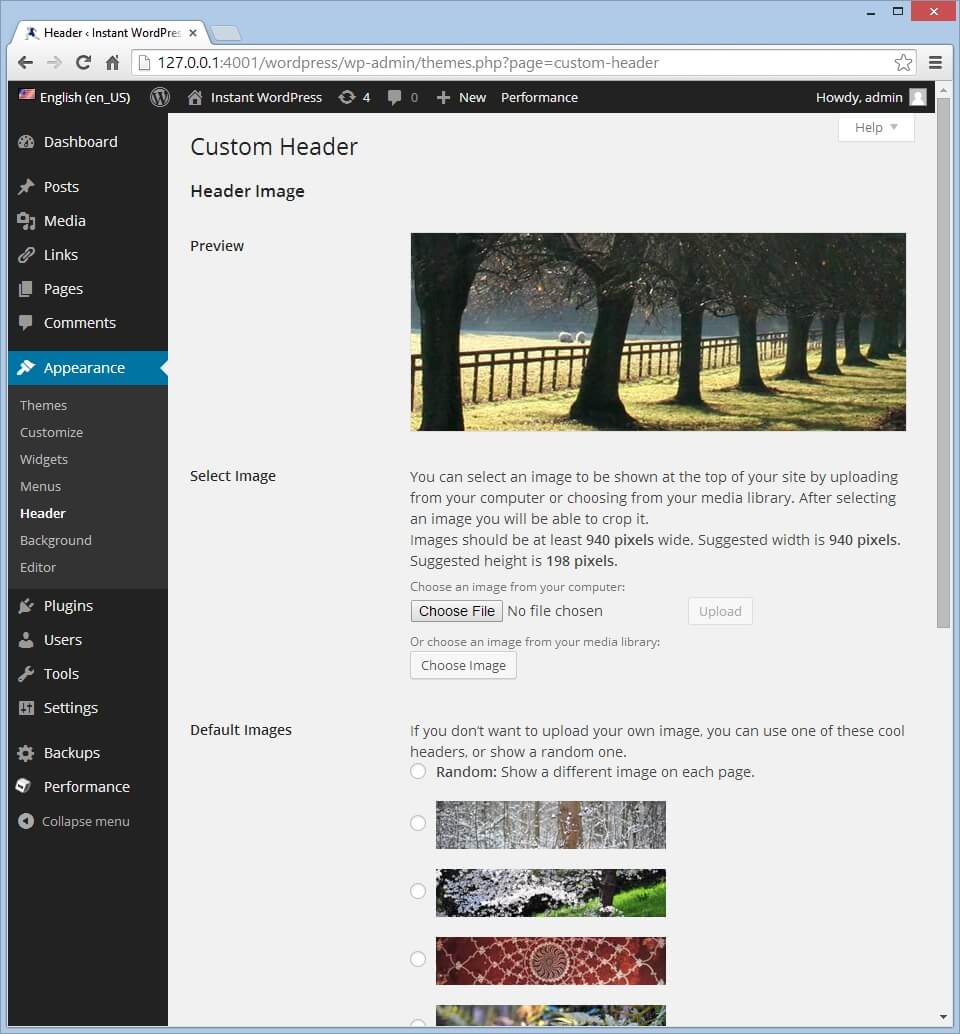
The optimal dimensions for a header image depend entirely on your currently selected theme. If you select an image which is too large or not of optimal dimensions, you’ll be able to crop it when you choose the image. You can either choose an image file from your computer or from your WordPress Media Library. Alternatively, and although this is not recommended, you can sometimes choose from a set of default images, or in some cases, have a random image displayed on each page. However, the exact settings available to you will depend entirely on the currently selected theme.
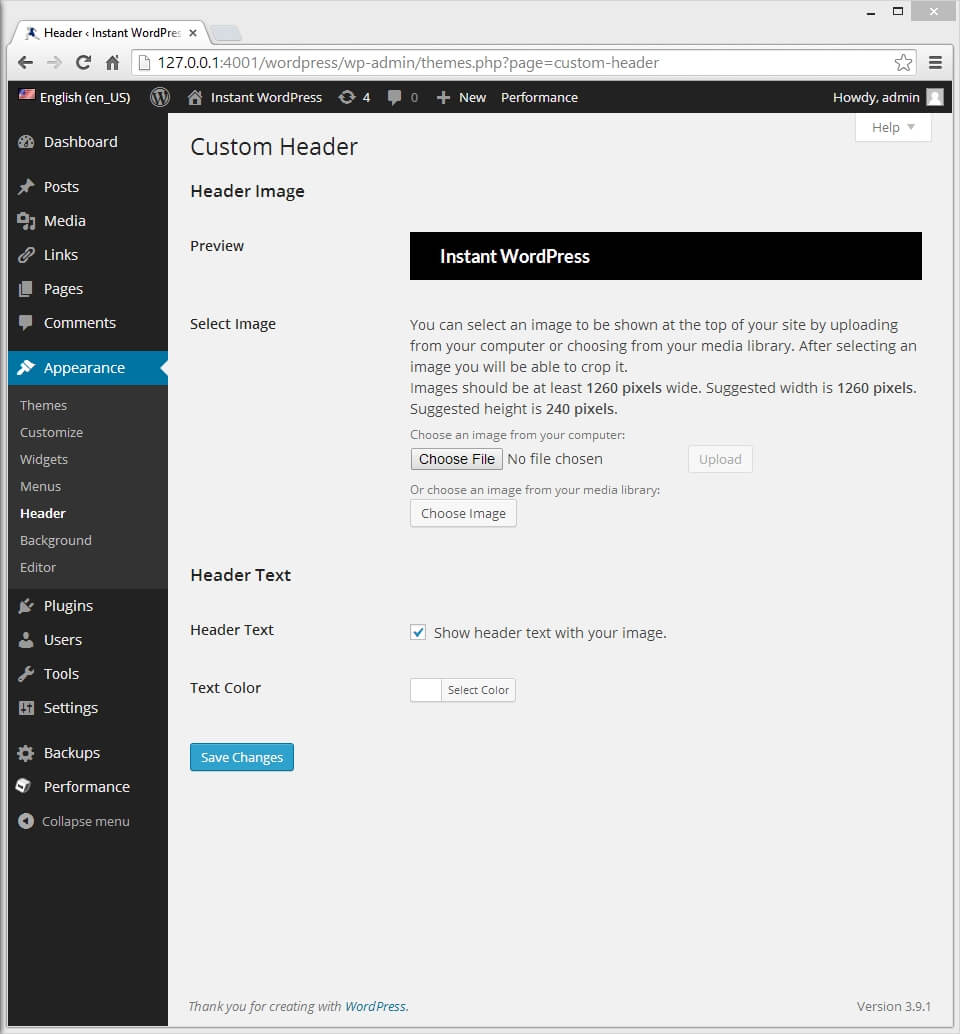
For the purpose of this tutorial, we’ll be using the latest default WordPress theme, Twenty Fourteen. Unlike some of the older WordPress default themes, this theme has a minimal set of header options available for it, and the default header for the theme is simply a black bar accompanied by a title. Follow the steps below to change your header image:
- Log into your WordPress administrator dashboard and navigate to Appearance > Header.
- Click “Choose File” and upload an image from your computer. You will have the opportunity to crop it before saving your settings.
- Alternatively, click “Choose Image” to choose an image from your media library. If you don’t have any images in your media library, simply drag and drop the image you want to use into the box which appears, select the file and click on “Set as header”.
- Click “Save Changes,” and the settings will take effect immediately.
Most themes, including Twenty Fourteen, also allow you to show or hide the header text or change its color. The header text is the title of your website, and you can change this by navigating to Settings > General in your administrator dashboard and specifying a new title in the field beside “Site Title.”