This article goes into the details of how to start a food blog. You will want to have your basic blog set up before reading this article. For the basics of creating a new blog of any kind (including a food blog), check out my free blogging tutorial first, and then come back to this article later.
If you have a passion for cooking or exploring new culinary venues, food blogging can turn out to be a fun and profitable way to become part of an active community of others who share your favorite hobby. If you have some good writing skills, there’s no reason you can’t succeed in this increasingly popular niche, particularly if you focus on a specific area and a carefully targeted audience.
Just like many other popular niches, such as travel or fashion, food is a broad topic, and with the right approach and a well-formulated plan, you should be able to find your unique voice and fill a gap in the marketplace. Food blogging is not just about posting recipes: other content, such as restaurant reviews, tips and tricks, shopping guides and even purely visual content can also find a place on a successful blog.
Why Start a Food Blog?
There are many pros and cons of starting a food blog but, with the right approach, many of the drawbacks can also be seen as advantages. Since everyone’s tastes are very different when it comes to food, you’re bound to end up dealing with both praise and criticism in more-or-less equal measures, but it’s a highly social subject that people love to talk about. Most importantly, blogging about food presents the perfect complement to your hobby, since it motivates you to experiment more in the kitchen and further your knowledge in the subject. You’ll get ideas and inspiration during your research as well as through the comments your readers leave on posts. Once your blog becomes widely known, you might even have businesses offering you a free meal in return for a write-up. Alternative, you may even end up being able to use your website as a base from which to write a cookbook or take advantage of other opportunities such as writing for a newspaper or magazine.
Who Should Publish a Food Blog?
Some people are great writers and others are great cooks or food connoisseurs, but you don’t need to be either to have a successful food blog. What is necessary is a genuine passion in your hobby that will keep you cooking and sharing your experiences with your readers. For a wider reach, you can often merge food with another niche, such as travel or lifestyle, to narrow your focus.
In terms of the more technical aspects, such as registering a web address and setting up WordPress, starting a food blog is just like starting any other blog. However, unlike some niches, food is particularly visual in nature. If you’re planning to show off your own recipes and ideas, you’ll really need to hone your photography skills, since you won’t be able to simply lift images from elsewhere on the Web. You’ll also need to clearly define your target audience and be wary of deviating from your established plan. Finally, and most importantly, you’ll need to keep on cooking so that your readers will have fresh content on a regular basis.
How to Start Your Food Blog
Once you’ve decided on a specific topic to blog about, you’ll be ready to register your domain name and purchase a hosting package. To help maximize your visibility in the search engines, be sure to choose a short and relevant domain name that people won’t have any trouble remembering. An excellent domain name for your food blog should be creative while also being descriptive. See Step #1 of my guide for more info on finding a good blog name.
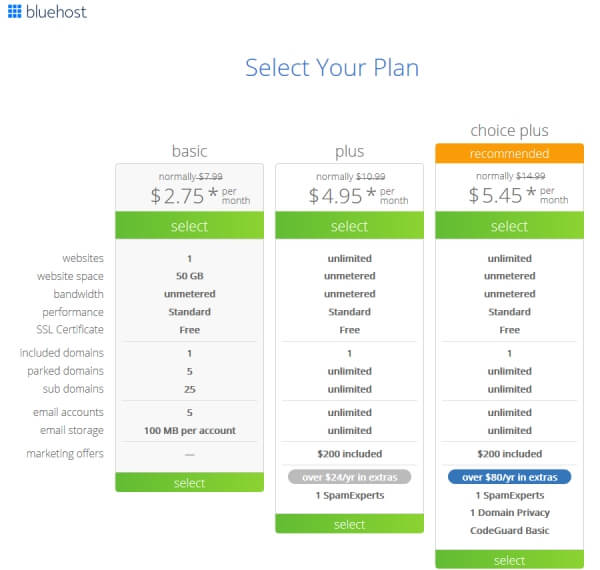
Having a self-hosted WordPress site is by far the best choice for starting a blog. Powering around a fifth of all websites, WordPress is the most popular and user-friendly publishing platform for bloggers. It features numerous themes and plugins, and it’s completely free thanks to its open-source nature. To make things easier, many major hosting companies, such as Bluehost, provide a one-click WordPress hosting service whereby your blog will be up and running as soon as you’ve registered a domain and chosen your hosting package.
A self-hosted WordPress blog provides numerous advantages including excellent customization options. In fact, WordPress is used not only for blogs, but also for e-commerce stores, online news portals, static webpages and much more. Being open-source and frequently updated, WordPress sites also tend to do well in the search engines. You can further enhance the platform’s search engine optimization (SEO) capabilities by installing the free plugin WordPress SEO by Yoast. Just make sure to keep the platform and any themes and plugins you use up-to-date at all times. You will receive an alert in your administrator dashboard whenever new updates are available.
Recommended Themes for Your Food Blog
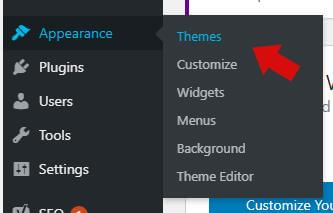
Once you have WordPress up and running, you’ll be ready to start customizing your site and publishing content but, before you get started, you’ll want to improve its user experience and give it a distinct look and feel by choosing the perfect theme. There are literally thousands available, including a number of premium themes. The sheer amount of options can make it difficult to find the right theme, so feel free to experiment a bit. Most importantly, always stick with responsive themes that scale automatically to different screen sizes so your blog remains user-friendly and easily readable on all Internet-enabled devices. If you’re having trouble finding a suitable theme for your food blog, take a look at the following for some inspiration:
Food Blog
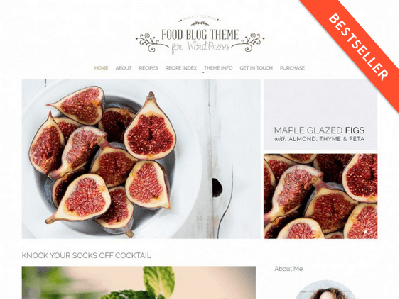
One of the few premium themes specifically designed for food bloggers, the aptly named ‘Food Blog’ theme is fully responsive and built using the latest HTML5 technology. It also comes with the Recipe Card plugin, which can help significantly when it comes to food-related keyword optimization.
Publication
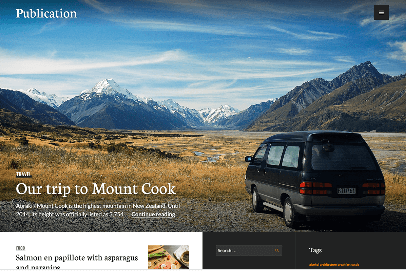
Although this free theme for WordPress is suitable for a wide range of lifestyle-related niches, the large header it provides makes it excellent for food bloggers seeking a magazine-style design featuring an eye-catching header image. Highly visually orientated, it also sports a convenient responsive design.
Foodeez Lite
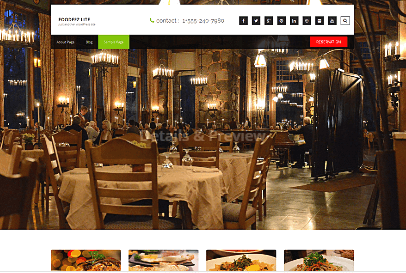
While designed with restaurants, hotels and other such venues in mind, the highly visual nature of Foodeez Lite also makes it an excellent choice for a food blog, particularly those that deal with image slideshows and other image content. It sports a full-width header image and thumbnail previews for posts.
iCook
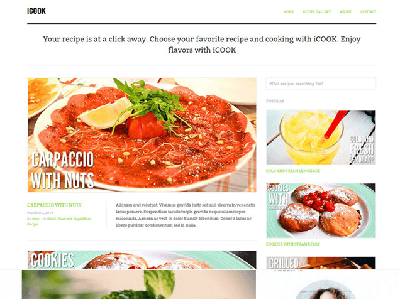
Featuring plenty of whitespace to help showcase your posts and recipe photos, this premium theme sports a filterable recipe gallery and a sidebar widget for automatically displaying your most popular recipes. It’s also extensively customizable and responsive.
Zylyz

A free theme specifically designed with food bloggers in mind, Zylyz is an excellent choice for any recipe website. You can display large images of your featured recipes in the slideshow header, and it allows you to create custom post types, taxonomies and meta box data.
Recommended Plugins for Your Food Blog
Plugins can enhance the functionality of your blog in a multitude of ways. While there are some plugins that every blog should have, such as WordPress SEO, XML Sitemaps and W3 Total Cache, there are a few others that are particularly well-suited to food blogs:
WP Ultimate Recipe
The appropriately named WP Ultimate Recipe is one of the most popular free plugins for food bloggers. It provides everything you need to attach recipes to posts and, using shortcodes, you can embed multiple recipes in the same post. You can also add ingredients, courses and cuisine types to your tag cloud widget.
Pinterest Pin It Button for Images
This small and simple plugin provides an essential functionality for your blog in the form of a Pin It button on your images. Rather than relying solely on social sharing buttons at the bottom of posts, this plugin allows your visitors to share images on Pinterest simply by clicking on them.
Nextgen Gallery
Being a visually demanding topic, any plugin that helps to enhance the images and the way they are displayed can be very useful for a food blog. Nextgen Gallery is a powerful tool for uploading and managing your image collections as well as displaying them in the form of slideshows or thumbnails accompanying your posts.
Unit Converter
A successful food blog normally targets a global audience, making it important to provide both metric and imperial measurements. This plugin automatically detects units of measurement written in your posts, and it will convert them automatically when readers mouse over them.
Promoting Your Blog
Starting your food blog is only the first part of the battle. You’ll have to focus on providing regular quality content to your readers as well as publicizing your blog. Becoming a master of the visual social media sites, such as Instagram and Pinterest, is particularly important at this point, and you’ll need to maintain an active presence on both of them to give yourself the best chance of success. Check out Step #6 of my guide for more info on how to promote your blog.