
With the number of blogs around the world running into the tens of millions, blogging has become an immensely popular platform for online content creation, publication and sharing. Individuals may maintain a blog for sharing their knowledge and experiences, while many companies consider it to be an invaluable part of their marketing campaigns. However, blogging is about far more than simply writing posts; it’s also a social thing which involves sharing your knowledge and collaborating with others, and this is why a class blog offers so much potential for you and your class.
Blogging can be a very useful tool for education, and a class blog can act as a great starting point for encouraging your students to use the power of the online world to collaborate and share their knowledge and reflect upon what they have learned. With a class blog, you’ll be in complete control and responsible for publishing content to share with your class and with the general public. At this point, you should start encouraging your students to post comments, and those who offer some valuable input may then be able to publish their own posts or even start their own student blogs in conjunction with your class blog. Even if all of your students maintain their own blogs, a class blog can still act as a valuable tool for aggregating the best content from your class and encouraging new students to get blogging as well.
Your goals as a teacher when it comes to maintaining a class blog are ultimately to encourage your students to read each other’s posts, interact by posting comments, and eventually, to have them start writing posts of their own. The class blog itself will act as the main hub connecting the efforts of your class together while making it easier to share knowledge among the class and even with a worldwide audience.
How to Set Up Your Class Blog
The first decision is to choose a platform to use for your blog. For the purpose of this eight-part guide, we will be using a free blog hosted at wordpress.com. WordPress is by far the most popular blogging platform in the world, with over 25 percent of all self-hosted websites using it. The platform itself is also free and open source, though if you have a blog hosted at wordpress.com, rather than having your own domain name, there will be some limitations. However, for a class blog, wordpress.com is perfectly adequate (for info on blogging with WordPress.org see my tutorial on making a blog and my guide to creating a website); it costs nothing, there’s no complicated setup process involved, and there’s absolutely no coding involved (similar to using website builder services). With a free blog at wordpress.com, you can literally start posting within minutes.
Your Blog URL and Name
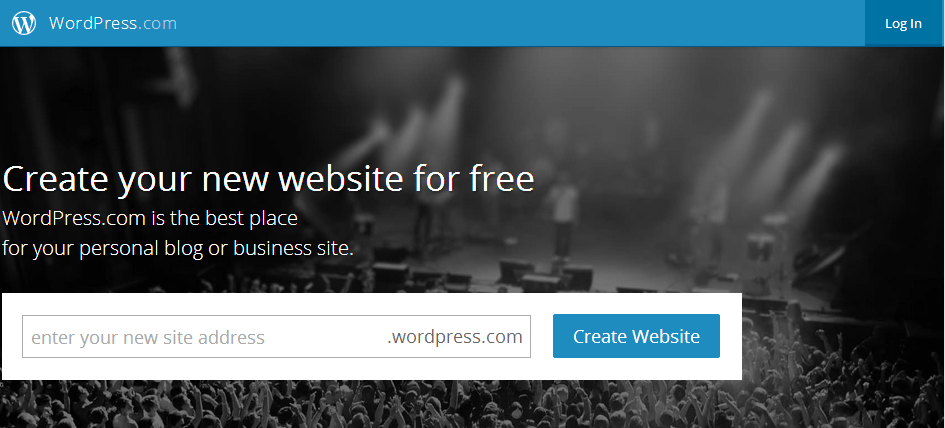
When you sign up for a free blog at wordpress.com, you’ll need to choose a URL such as yourclassblog.wordpress.com. Choose your URL wisely, and try to keep it as short as possible. Many teachers simply use their names. Note that the URL does not necessarily have to have the same name as your blog, which may be too long to use as a URL anyway. Again, try to stick to something relevant and recognizable when choosing the name.
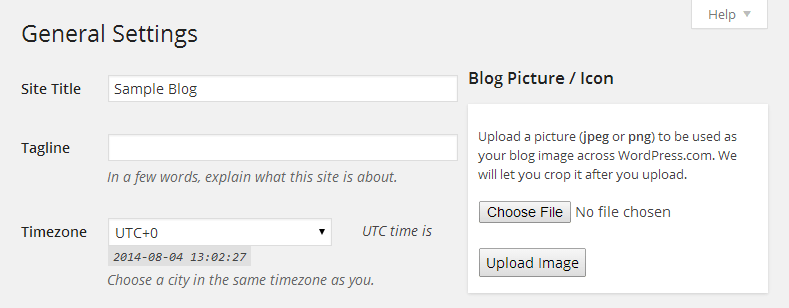
Fortunately, you can easily change your blog’s name itself at any time by navigating to “Settings > General Settings” and changing the text in the “Site Title” field before clicking “Save Changes.” To reach the administrator dashboard, navigate to yourclassblog.wordpress.com/wp-admin and enter your username and password. The dashboard is where you will manage your blog, configure users, moderate comments and create and edit posts.
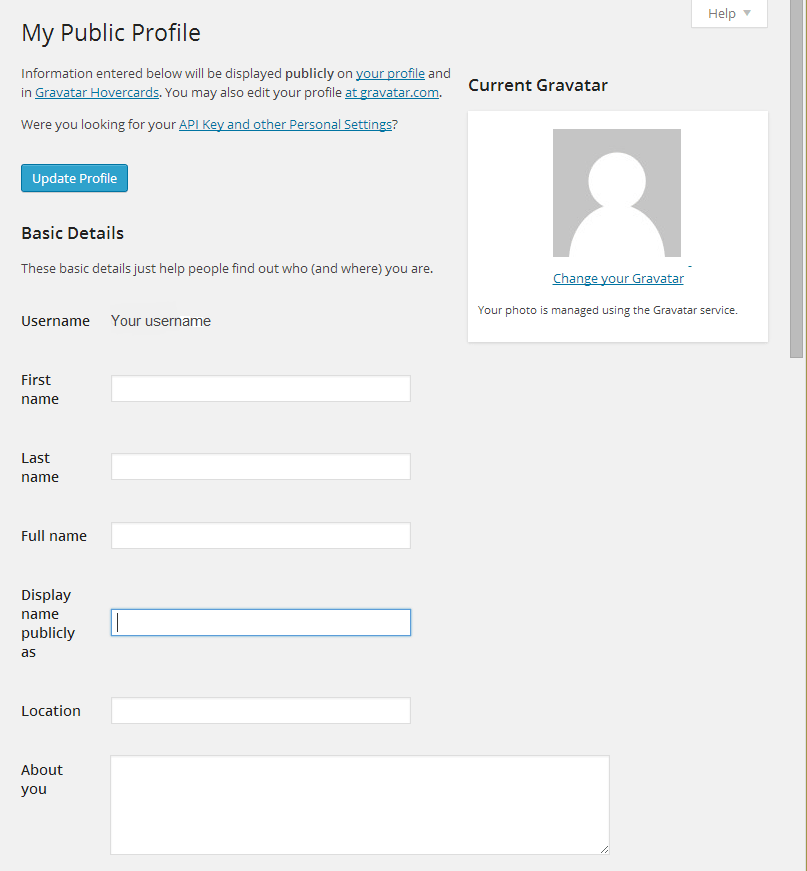
Choosing Your Display Name
You’ll also be asked to enter a username when signing up, which cannot be changed later on without creating a new account. However, you can change your display name at any time, and the display name will appear on your blog dashboard and on any comments you post. To change the display name, log in to the dashboard, and navigate to “Users > My Profile”, and change your display name as required. For best results, use a display name which makes it easy for your students to recognize and relate to. Fill in the remaining optional details as required.
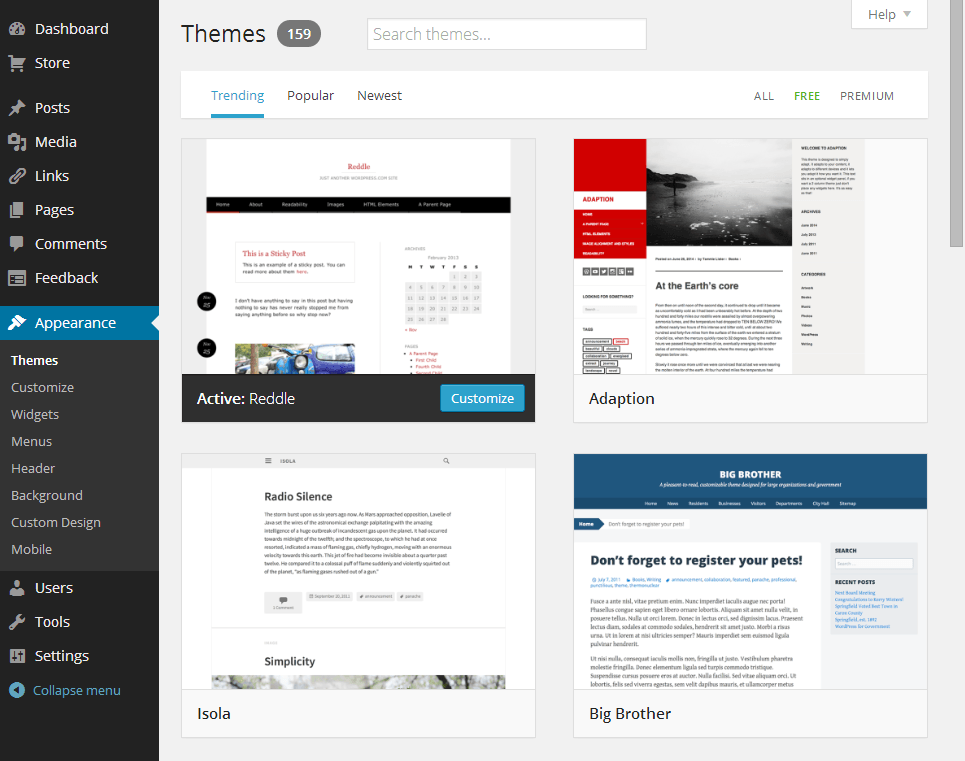
Changing Your Blog’s Theme
With free hosting, you’ll only be able to choose from a relatively small number of themes, and further customization options will be limited. However, there should still be more than enough options available for a typical class blog. You can change theme settings by navigating to “Appearance > Themes”. To activate or preview a theme, move the mouse pointer over the thumbnail preview and click “Activate” or “Preview” as required. Additionally, you can further customize your currently active theme by moving the mouse over its thumbnail and clicking “Customize”. The options available to you will vary depending on your currently selected theme, so feel free to experiment until you get your blog looking how you want.
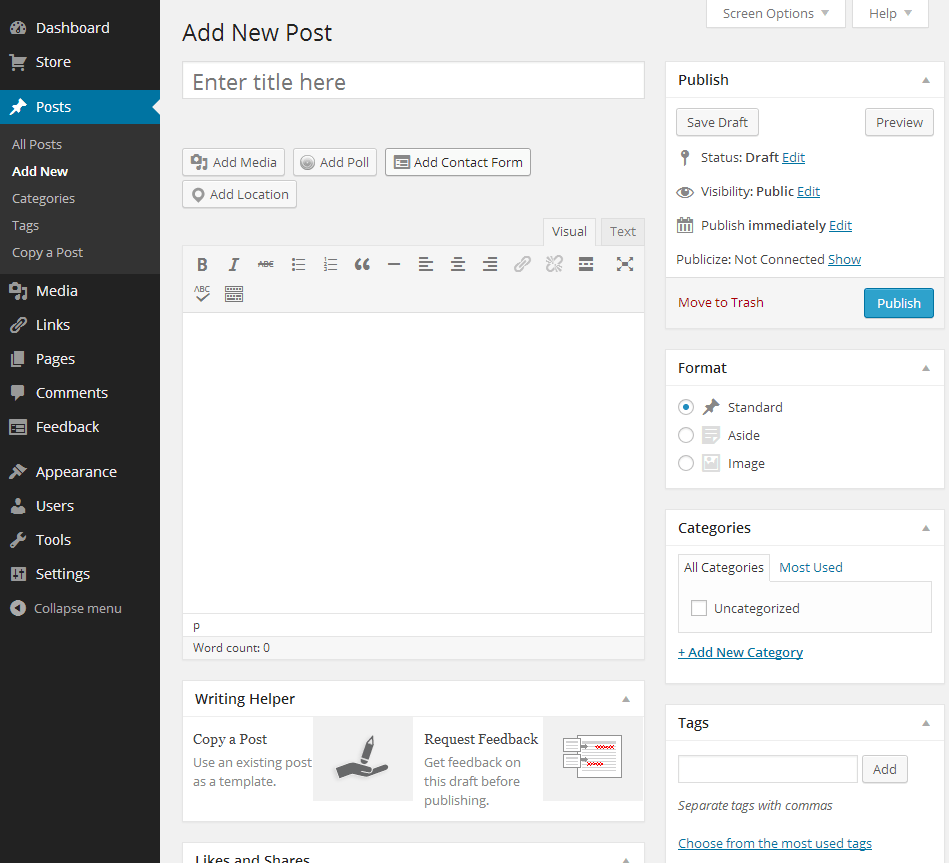
Creating Your First Post
Creating and publishing a post in WordPress is no more complicated than writing and saving a document in Microsoft Word or any other word processor. Simply navigate to “Posts > Add New” and start writing. Enter a title and the content of your post as well as tags and categories to help identify it. Once you’ve finished writing the post, click “Publish” and it will go live immediately. Alternatively, you can click “Save Draft” if you want to come back to it later or click “Preview” to take a look at what your blog post will look like once it goes live.
Congratulations! You have now set up your class blog and published your first post. If you’re looking for some inspiration to help you customize your blog or come up with content ideas, be sure to check out some other class blogs to see what other teachers are doing. In the next chapter, we will take a look at setting up rules and guidelines for your blog and getting your students to start commenting on your posts.