If you haven’t installed WordPress yet, please return to Step 2 to learn how.
Once you have WordPress installed on your site you are just about ready to start blogging. In this step, I am just going to show you the basics to get you up and running with your new WordPress blog. The next step after this one will show you some more advanced changes you can make to personalize the design and structure of your blog.
Logging In
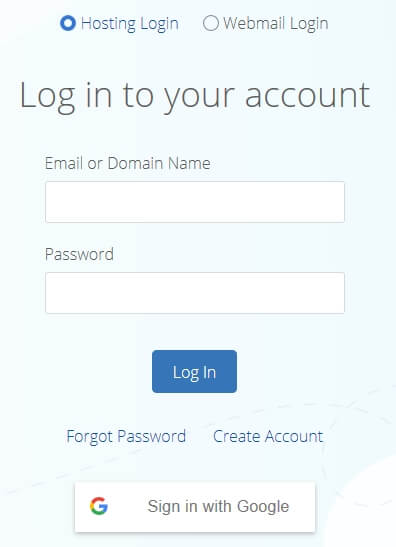
To start with, you will need to login to your site. Go to BlueHost.com and click on the “Login” link at the top right to bring up the login screen. If you are unsure of your login name or password, check the email that was sent to you from BlueHost that has this information, or you can use the password reset link on the login page.
Changing Your Blog Title
Once you login you can click the blue “WordPress” button to be taken the WordPress blog administrator area. This is where you will make any changes you want to your blog. To start with, you will probably want to change the title of your blog. To do this, go to the bottom of the left menu and click “Settings”. That should take you to this screen:
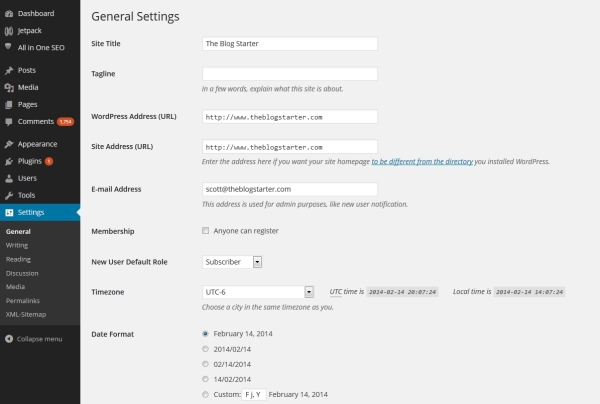
On this screen you can change your “Site Title” and also the subtitle, known as your “Tagline”. Enter whatever you want in these two boxes and then scroll to the bottom and click the “Save Changes” button.
Once you save these changes they will immediately be live on your site. To see what your site looks like at any time you can just type your domain name in the browser and hit enter.
How to Write a Post
Blogging is all about writing, so let’s learn how to write your first blog post.
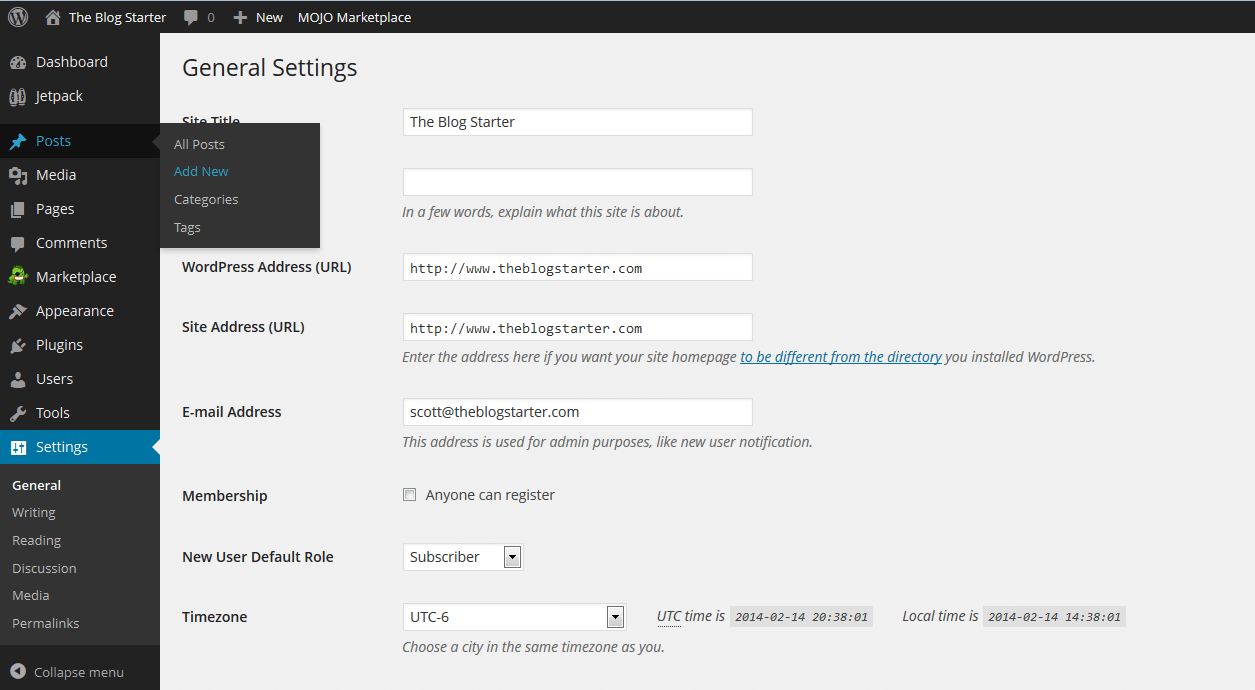
Go to the left menu and click on “Posts”. (Click the image below to see a larger version.)
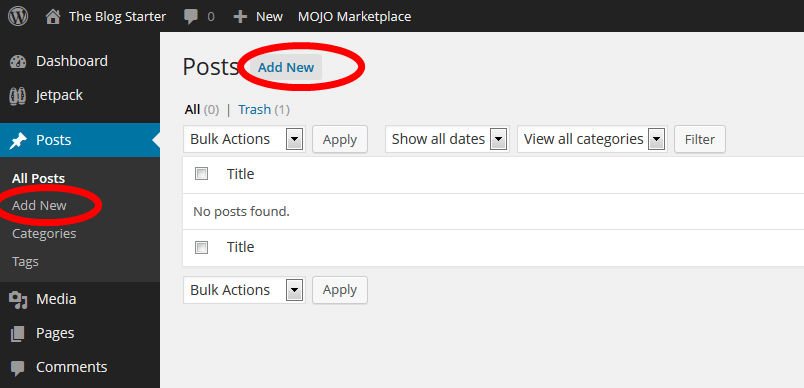
You will see there is already a post there titled “Hello world!” This is a default post on every new WordPress blog, and we don’t need it. To delete it click “Trash” just under the post.
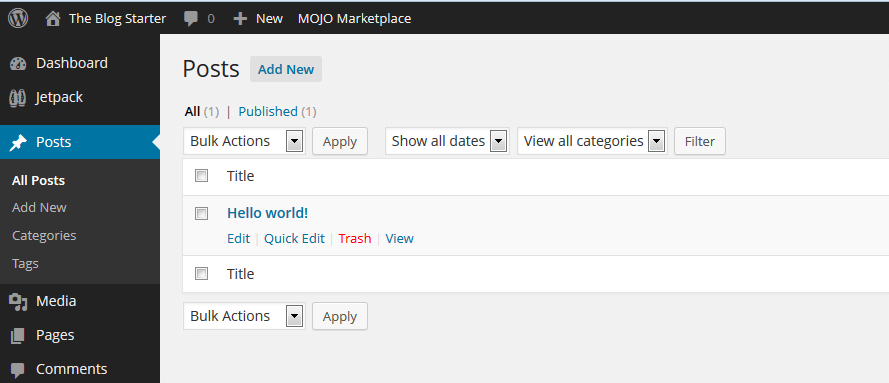
To begin writing a new post, click the “Add New” link (found in either the left menu or next to the word “Posts”).
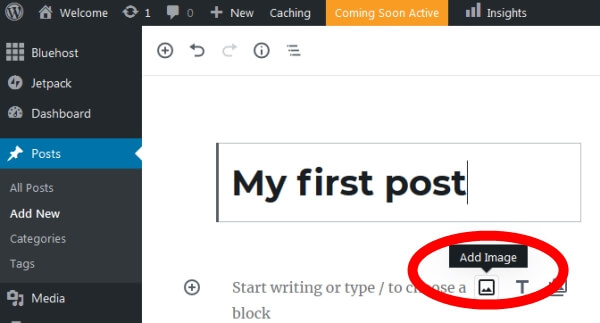
You should now be on the post creator screen. You can enter the title of your post in the top box and then begin writing your post in the lower box.
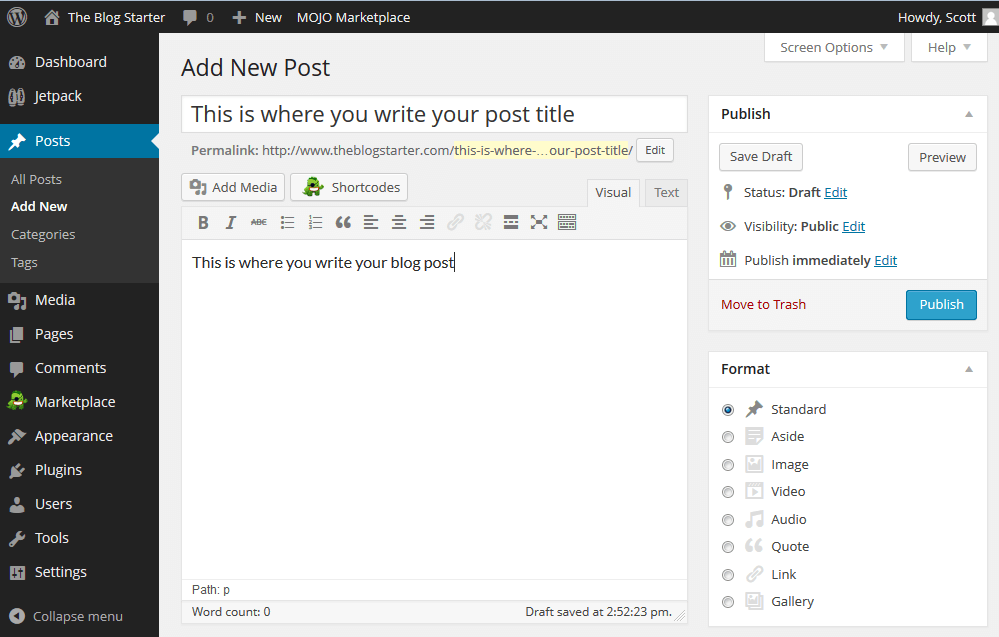
If you would like to add a picture to your post, click on the “Add Media” button and click “Select Files” to upload a picture from your computer. You can make adjustments to the picture size and alignment on the next screen. When you are all set click “Insert into post” to add the picture.
Once you have finished your post just click the “Publish” button on the right side of the screen to publish it.
Publishing Your Blog
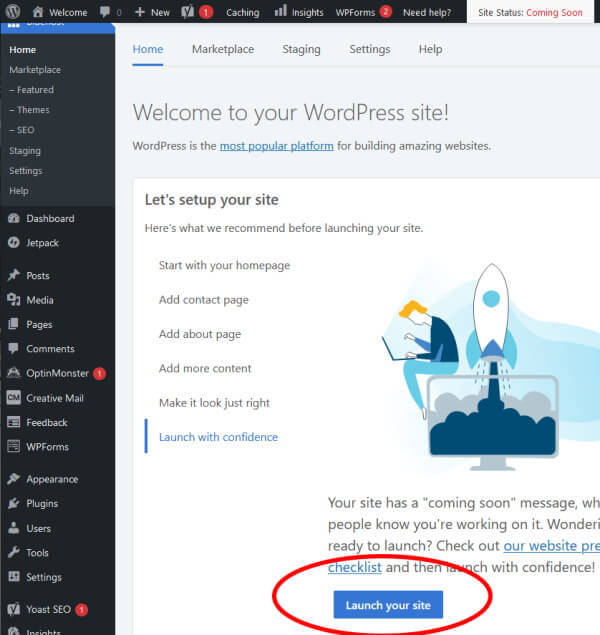
Even after you have written a post your blog may still be showing a “Coming Soon” page like this:
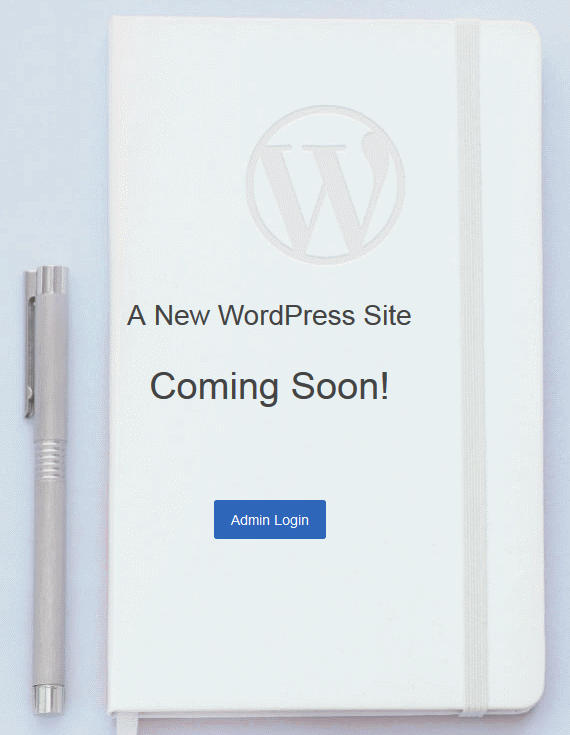
When you are ready to remove that page, login to your blog and click “Home” on the left menu. Click “Launch with confidence” and then click “Launch your site”.
What’s next?
Congratulations! You now know how to publish content on your site!
You will probably want to make some more changes to your blog as I describe in the next step, but none of them are absolutely necessary, since your site is already live and ready for the world to see!