While tracking visitor statistics is absolutely crucial for any commercial blogging venture, it is still useful for any other blog, including your class blog. It doesn’t cost anything or take much time to set up, and by adding a tracking tool to your blog’s sidebar, both yourself and visitors will be able to learn a lot more about your blog’s popularity and readership. Assuming that your blog is open to the general public, which it should be, you’ll likely get visitors from all over the world. Displaying visitor numbers and the countries that they’re coming from can be very rewarding for your students, particularly when they start posting content for themselves.
Adding visitor track widgets to your blog requires embedding some HTML code into the text widget, but don’t worry – you don’t need to pay any attention to the actual code itself, as you’ll find out in this chapter. Though there are many free and paid visitor tracking tools available which you can embed into your blog (or any other website for that matter), we’ll take a look at three of the most popular.
1 – ClustrMaps
When you embed ClustrMaps into your class blog, a thumbnail will appear in the sidebar showing the geographical location of your visitors by way of dots on a world map. The larger the dot, the greater is the number of visitors coming from that particular location. Readers will also be able to click on the thumbnail map to view a larger version so that they can take a closer look at your traffic sources. Note that ClustrMaps is now a paid service, costing $20 per year for a subscription.
- Sign up at clustrmaps.com. Be sure to enter the full URL of your class blog during the signup process.
- Log in to your administrator page by clicking on the “Log In” button on the homepage.
- Choose your preferred widget style and highlight the HTML code which appears beneath to select it all. Copy it to the clipboard by pressing Ctrl+C on your keyboard.
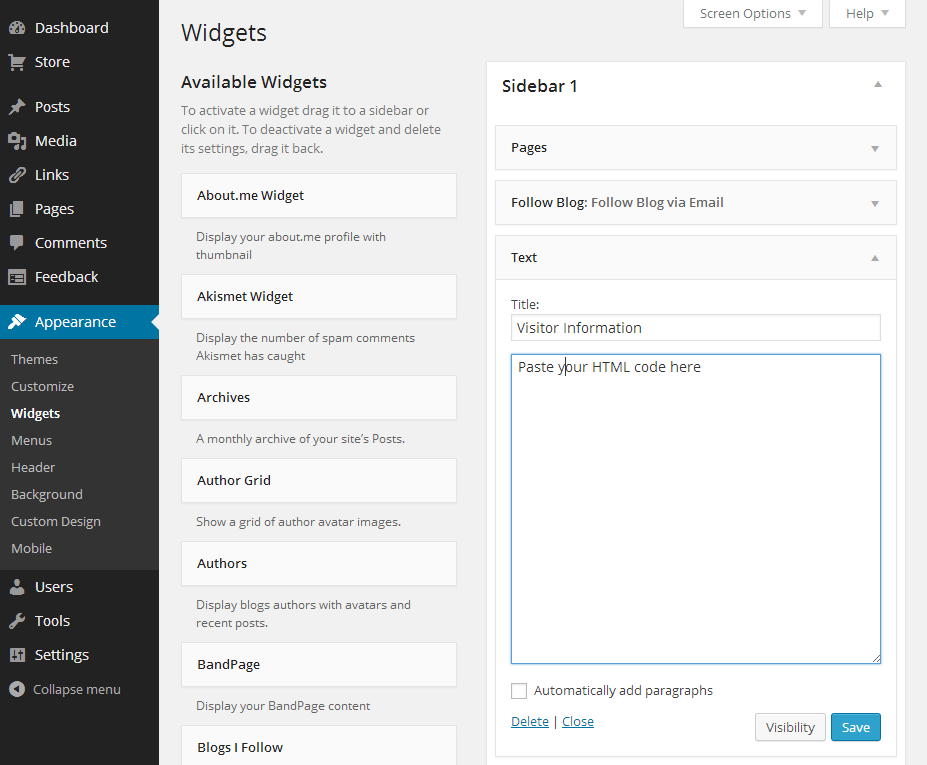
- Log into your WordPress administrator dashboard and navigate to “Appearance > Widgets”.
- Drag the “Text” widget from the column to the left to the preferred widget area to the right.
- Click on the newly activated widget to open the text input. Paste the HTML code you just copied by pressing Ctrl+V and click “Save”. The visitor tracking widget will appear on your blog immediately.
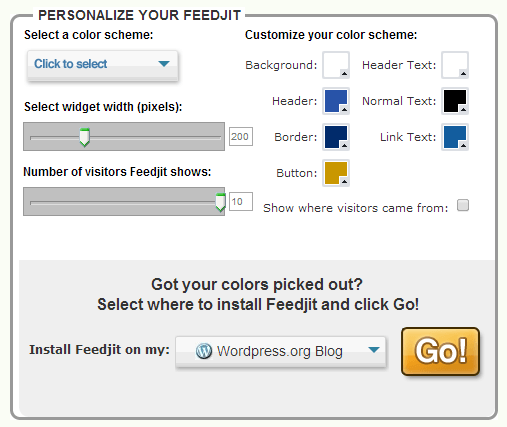
2 – Feedjit
Feedjit is a live traffic feed which displays visitor information in real-time, including the country they’re coming from along with a few other useful details. The traffic feed is updated every time a new visitor comes to your website. Readers can click on the widget to find more detailed information.
- Visit Feedjit.com.
- Select a colour scheme from the drop-down box.
- Select a width for the widget. 150 to 170 is suitable for most blog sidebars.
- Change any other settings as required, and choose “WordPress.org Blog” in the dropdown box below.
- Click “Go” and copy the HTML code provided.
- Repeat steps 4 to 6 from the ClustrMaps installation guide to embed it into your class blog.
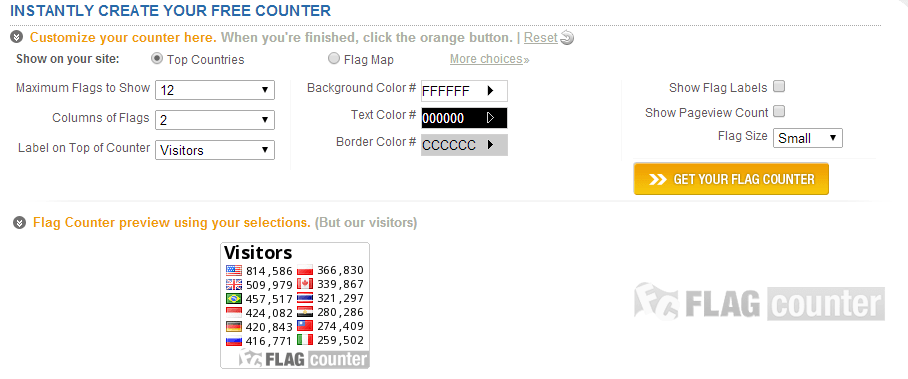
3 – Flag Counter
Flag Counter is a free visitor tracking service which displays a number of national flags (up to 250) and the number of visitors from those countries. The widget will display the flags in order of the number of visitors coming from the country.
- Visit flagcounter.com.
- Choose the maximum number of flags to show. The default of 12 should be ample for your class blog. Stick to using 2 columns of flags, since most WordPress themes will only display 2 columns correctly anyway.
- Customize the label and colour schemes if you wish as well as the other available options to further modify the widget.
- Click on “Get Flag Counter” and copy the HTML code from the “Code for websites” field.
- Repeat steps 4 to 6 from the ClustrMaps installation guide to embed it into your class blog.